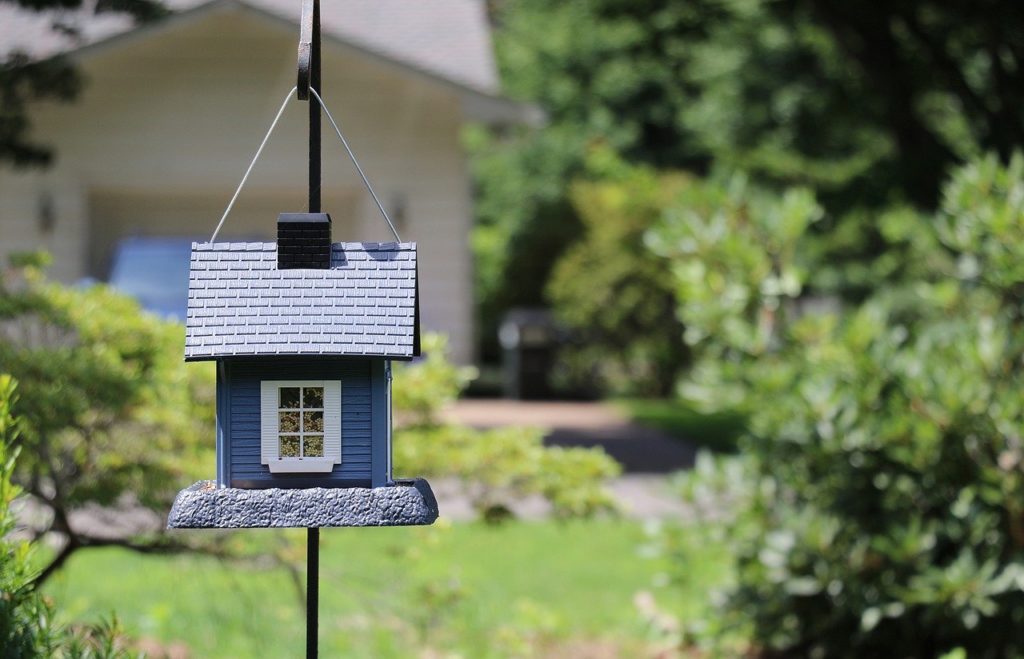
Traditional birdhouses tend to be rather dull. Throw caution to the wind with any of our three variations…
Quick Project Guide
Hard labour 3/10
Skill level 3/10
Time needed – about one hour
Finished size ±250 (H) X 122 (W) X 122mm (D)
Make all three for ±R426: (pine and meranti R160, rake handles R66, glue and screws R60, varnish R140)
Project Notes
• You can use offcut pieces of pine and meranti from previous DIY projects.
• For this birdhouse were used 25mm-diameter rake handles as posts as they’re longer – and cheaper than broomsticks.
• Birdhouses were finished with ProNature varnish – an eco-friendly alternative – but you could leave yours to weather naturally.
• Here you have simple construction steps to get started; refer to the sketches and images for more information or adapt them to create your style.
Shopping List
• 2400 x 122 x 22mm pine
• 1800 x 44 x 22mm pine
• 1800 x 44 x 22mm meranti (or use any offcut pieces you have)
Plus
• 25mm rake handle
• 8mm wooden dowel
• wood glue and wood filler (optional)
• 44mm chipboard screws
• varnish
• paint brush
Tools
• drill and 8mm drill bit
• 60mm-diameter hole saw
• hacksaw blade
• pencil
• tri-square
• measuring tape
• clamps
1 Always drill pilot holes before joining timber with screws to avoid splitting the wood. For added strength and durability, add a dab of glue to the join.
2 If drilling holes with a hole saw, clamp the timber to be drilled firmly in position; maintain a steady downward pressure and hold the drill firmly when drilling. Glue the components for the front of this birdhouse design and allow it to set before drilling a hole for the ‘front door.’
TIPS
- Place an offcut piece of timber underneath the timber when drilling to prevent it from splitting out underneath.
- For neat holes, drill halfway with the hole saw from one side, then turn the workpiece over, line up the guide bit with the pilot hole and drill through from the other side.
3 Use different varieties of timber to create exciting details.
4 Drill 8mm holes into the fronts just below the openings, then cut a short length (100mm) of wooden dowel and tap it into the hole to create a perch.
5 After adding a roof and backing, fill all the gaps with wood filler or plug the exposed screw holes with the dowel, trim flush with a hacksaw blade and sand to finish. Then apply a natural varnish or merely leave the timber to weather naturally.
